OpenTelemetry in Practice: Building a Complete Observability Stack in 2026
in Devops on Opentelemetry, Observability, Monitoring, DevOps, Grafana, Jaeger, Prometheus, Logging

OpenTelemetry in Practice: Building a Complete Observability Stack
Your application is in production. Something’s slow. Where do you look? If your answer involves SSH-ing into servers and grep-ing logs, it’s time for an upgrade. OpenTelemetry (OTel) has become the standard for observability — here’s how to implement it properly.
Why OpenTelemetry Won
Before OTel, every observability vendor had its own SDK. Switch from Datadog to New Relic? Reinstrument everything. OpenTelemetry fixes this:
- Vendor-neutral: Instrument once, send data anywhere
- Three pillars: Traces, metrics, and logs — unified under one framework
- CNCF graduated: Same trust level as Kubernetes and Prometheus
- Broad language support: Go, Java, Python, Node.js, .NET, Rust, and more
In 2026, OpenTelemetry is not a bet — it’s the standard. Major vendors (Datadog, New Relic, Grafana, Splunk) all accept OTel data natively.
The Architecture
Your App (OTel SDK)
    ↓ OTLP
OTel Collector (process, filter, route)
    ↓
┌────────────────────────────────┐
│ Traces → Jaeger / Tempo        │
│ Metrics → Prometheus / Mimir   │
│ Logs → Loki / Elasticsearch    │
└────────────────────────────────┘
    ↓
Grafana (unified dashboards)
The Collector is the key piece. It decouples your application from your backends, letting you switch, duplicate, or filter telemetry without code changes.
Step 1: Instrument Your Application
Node.js / TypeScript
// tracing.ts — import this before anything else
import { NodeSDK } from "@opentelemetry/sdk-node";
import { OTLPTraceExporter } from "@opentelemetry/exporter-trace-otlp-grpc";
import { OTLPMetricExporter } from "@opentelemetry/exporter-metrics-otlp-grpc";
import { PeriodicExportingMetricReader } from "@opentelemetry/sdk-metrics";
import { getNodeAutoInstrumentations } from "@opentelemetry/auto-instrumentations-node";
import { Resource } from "@opentelemetry/resources";
import {
  ATTR_SERVICE_NAME,
  ATTR_SERVICE_VERSION,
} from "@opentelemetry/semantic-conventions";

const sdk = new NodeSDK({
  resource: new Resource({
    [ATTR_SERVICE_NAME]: "api-service",
    [ATTR_SERVICE_VERSION]: "1.4.2",
    "deployment.environment": process.env.NODE_ENV || "development",
  }),
  traceExporter: new OTLPTraceExporter({
    url: "http://otel-collector:4317",
  }),
  metricReader: new PeriodicExportingMetricReader({
    exporter: new OTLPMetricExporter({
      url: "http://otel-collector:4317",
    }),
    exportIntervalMillis: 30000,
  }),
  instrumentations: [
    getNodeAutoInstrumentations({
      "@opentelemetry/instrumentation-http": {
        ignoreIncomingRequestHook: (req) =>
          req.url === "/health" || req.url === "/ready",
      },
      "@opentelemetry/instrumentation-express": { enabled: true },
      "@opentelemetry/instrumentation-pg": { enabled: true },
      "@opentelemetry/instrumentation-redis": { enabled: true },
    }),
  ],
});

sdk.start();
Auto-instrumentation captures HTTP requests, database queries, Redis calls, and more — without touching your application code.
Custom Spans for Business Logic
import { trace, SpanStatusCode, metrics } from "@opentelemetry/api";

const tracer = trace.getTracer("order-service");
const meter = metrics.getMeter("order-service");

// Custom metrics
const orderCounter = meter.createCounter("orders.created", {
  description: "Total orders created",
});
const orderDuration = meter.createHistogram("orders.processing_duration_ms", {
  description: "Order processing duration",
  unit: "ms",
});

async function processOrder(order: Order) {
  return tracer.startActiveSpan("process-order", async (span) => {
    const start = Date.now();
    try {
      span.setAttribute("order.id", order.id);
      span.setAttribute("order.total", order.total);
      span.setAttribute("order.items_count", order.items.length);

      // Each sub-operation gets its own span
      await tracer.startActiveSpan("validate-inventory", async (child) => {
        await validateInventory(order.items);
        child.end();
      });

      await tracer.startActiveSpan("charge-payment", async (child) => {
        child.setAttribute("payment.method", order.paymentMethod);
        await chargePayment(order);
        child.end();
      });

      await tracer.startActiveSpan("send-confirmation", async (child) => {
        await sendConfirmationEmail(order);
        child.end();
      });

      orderCounter.add(1, { status: "success", region: order.region });
      span.setStatus({ code: SpanStatusCode.OK });
    } catch (error) {
      span.setStatus({
        code: SpanStatusCode.ERROR,
        message: error.message,
      });
      span.recordException(error);
      orderCounter.add(1, { status: "failed", region: order.region });
      throw error;
    } finally {
      orderDuration.record(Date.now() - start);
      span.end();
    }
  });
}
Now you can trace an order from HTTP request → inventory check → payment → email, seeing exactly where time is spent.
Step 2: Deploy the Collector
The OTel Collector receives, processes, and exports telemetry. Here’s a production-ready config:
# otel-collector-config.yaml
receivers:
  otlp:
    protocols:
      grpc:
        endpoint: 0.0.0.0:4317
      http:
        endpoint: 0.0.0.0:4318

processors:
  batch:
    timeout: 5s
    send_batch_size: 1000

  memory_limiter:
    check_interval: 1s
    limit_mib: 512
    spike_limit_mib: 128

  attributes:
    actions:
      - key: environment
        value: production
        action: upsert

  # Tail-based sampling: keep errors + 10% of successful traces
  tail_sampling:
    decision_wait: 10s
    policies:
      - name: errors
        type: status_code
        status_code: { status_codes: [ERROR] }
      - name: slow-requests
        type: latency
        latency: { threshold_ms: 2000 }
      - name: sample-rest
        type: probabilistic
        probabilistic: { sampling_percentage: 10 }

exporters:
  otlp/tempo:
    endpoint: tempo:4317
    tls:
      insecure: true

  prometheusremotewrite:
    endpoint: http://mimir:9009/api/v1/push

  loki:
    endpoint: http://loki:3100/loki/api/v1/push

service:
  pipelines:
    traces:
      receivers: [otlp]
      processors: [memory_limiter, tail_sampling, batch, attributes]
      exporters: [otlp/tempo]
    metrics:
      receivers: [otlp]
      processors: [memory_limiter, batch]
      exporters: [prometheusremotewrite]
    logs:
      receivers: [otlp]
      processors: [memory_limiter, batch]
      exporters: [loki]
Docker Compose for Local Development
version: "3.8"
services:
  otel-collector:
    image: otel/opentelemetry-collector-contrib:latest
    volumes:
      - ./otel-collector-config.yaml:/etc/otelcol-contrib/config.yaml
    ports:
      - "4317:4317"   # OTLP gRPC
      - "4318:4318"   # OTLP HTTP

  tempo:
    image: grafana/tempo:latest
    command: ["-config.file=/etc/tempo.yaml"]
    volumes:
      - ./tempo-config.yaml:/etc/tempo.yaml

  grafana:
    image: grafana/grafana:latest
    ports:
      - "3000:3000"
    environment:
      - GF_AUTH_ANONYMOUS_ENABLED=true

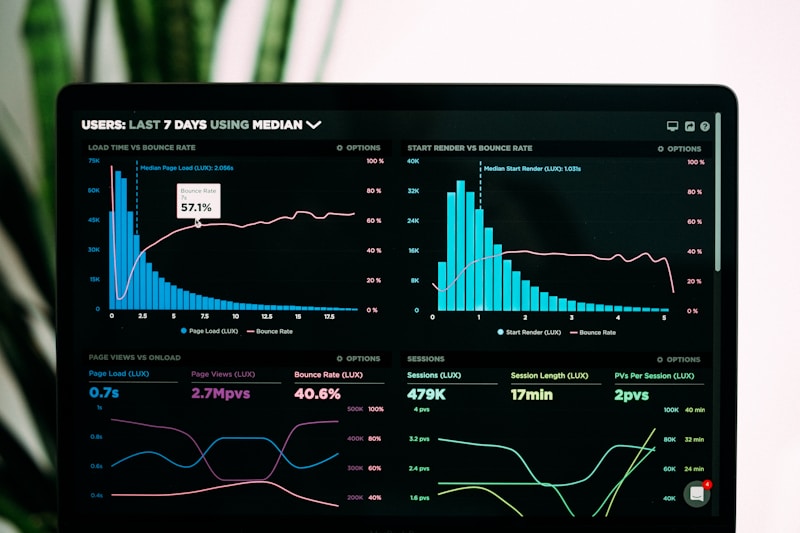
Step 3: Build Useful Dashboards
The Four Golden Signals
Every service dashboard should show:
- Latency: How long requests take (P50, P95, P99)
- Traffic: Requests per second
- Errors: Error rate (5xx / total requests)
- Saturation: CPU, memory, connection pool usage
# P95 latency by endpoint
histogram_quantile(0.95,
  sum(rate(http_server_request_duration_seconds_bucket{
    service_name="api-service"
  }[5m])) by (le, http_route)
)

# Error rate
sum(rate(http_server_request_duration_seconds_count{
  http_response_status_code=~"5.."
}[5m])) /
sum(rate(http_server_request_duration_seconds_count[5m]))

# Requests per second by endpoint
sum(rate(http_server_request_duration_seconds_count{
  service_name="api-service"
}[5m])) by (http_route)
Trace-to-Logs Correlation
The power of unified observability: click a slow trace → see the exact logs from that request:
import { context, trace } from "@opentelemetry/api";
import pino from "pino";

const logger = pino({
  mixin() {
    const span = trace.getActiveSpan();
    if (span) {
      const { traceId, spanId } = span.spanContext();
      return { traceId, spanId };
    }
    return {};
  },
});

// Logs automatically include trace context
logger.info({ orderId: "12345" }, "Processing order");
// Output: {"traceId":"abc...","spanId":"def...","orderId":"12345","msg":"Processing order"}
In Grafana, configure Tempo → Loki correlation. Now traces link to logs and vice versa.
Production Best Practices
1. Sample Intelligently
Don’t collect every trace in production. Use tail-based sampling to keep:
- All error traces
- All slow traces (> P99)
- A percentage of normal traces (5-10%)
2. Use Resource Attributes
Tag everything with service name, version, environment, and deployment ID:
new Resource({
  "service.name": "payment-service",
  "service.version": "2.3.1",
  "deployment.environment": "production",
  "deployment.id": process.env.DEPLOYMENT_ID,
  "cloud.region": "ap-northeast-2",
})
This lets you filter, group, and compare across deployments.
3. Set Up Alerts on SLOs
Don’t alert on individual metrics. Define SLOs and alert on burn rate:
# Alert: 99.9% availability SLO burning too fast
- alert: HighErrorBurnRate
  expr: |
    (
      sum(rate(http_server_request_duration_seconds_count{
        http_response_status_code=~"5..",
        service_name="api-service"
      }[1h]))
      /
      sum(rate(http_server_request_duration_seconds_count{
        service_name="api-service"
      }[1h]))
    ) > 0.01  # 1% error rate = 10x burn rate for 99.9% SLO
  for: 5m
  labels:
    severity: critical
4. Keep Cardinality Under Control
High-cardinality attributes (user IDs, request IDs) in metrics will explode your storage costs. Use them in traces, not metrics.
// ✅ Good: Low-cardinality metric labels
orderCounter.add(1, { status: "success", region: "ap-northeast-2" });

// ❌ Bad: High-cardinality label
orderCounter.add(1, { user_id: "user-12345" });  // Don't do this
The Cost of Observability
A rough guide for a medium-sized system (20 services, 1K RPS):
| Component | Self-Hosted (Monthly) | Managed (Monthly) |
|---|---|---|
| Traces | $50 (Tempo on S3) | $200-500 (Datadog) |
| Metrics | $30 (Mimir on S3) | $150-400 (Datadog) |
| Logs | $80 (Loki on S3) | $300-800 (Datadog) |
| Grafana | Free (OSS) | $0-50 (Grafana Cloud) |
| Total | ~$160 | $650-1750 |
Self-hosting with the Grafana stack (Tempo + Mimir + Loki + Grafana) is dramatically cheaper. The trade-off is operational complexity.
Conclusion
Observability isn’t a luxury — it’s how you maintain sanity in production. OpenTelemetry gives you vendor-neutral instrumentation that works everywhere. The Grafana stack gives you a cost-effective backend.
Start here:
- Add auto-instrumentation to one service
- Deploy the OTel Collector
- Set up Grafana with Tempo and Prometheus
- Build a dashboard with the four golden signals
- Expand to custom spans and business metrics
You’ll wonder how you ever debugged production without it.
The best incident response starts hours before the incident — with good observability.
이 글이 도움이 되셨다면 공감 및 광고 클릭을 부탁드립니다 :)